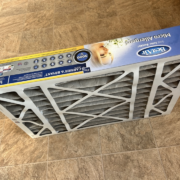
Dirty Furnace Air Filters: A Common Issue Found During Burnsville, MN Home Inspections
As a professional home inspector in Burnsville, MN, I frequently encounter heating issues that could have been easily prevented. One of the most common, and often overlooked, problems is a dirty furnace air filter. Even though it’s a small component, a clogged filter can cause significant performance, safety, and comfort concerns in homes.
During a typical home inspection, furnace air filters are often overdue for replacement, especially in older homes or properties with pets, renovations, or high dust levels.
Why Furnace Air Filters Matter
Minnesota’s climate places heavy demands on heating systems, especially during the long winter months.
A furnace air filter plays a critical role by:
- Allowing proper airflow through the heating system
- Trapping dust, allergens, and debris
- Protecting internal furnace components
When the filter becomes dirty, these functions are compromised—something a trained home inspector can quickly identify during an inspection.
Common Problems Caused by a Dirty Furnace Air Filter
Poor Heating Performance and Cold Rooms
Restricted airflow is often linked to uneven heating. Homeowners may notice:
- Cold spots in bedrooms or basements
- Weak airflow from vents
- Longer furnace run times
These problems are especially common in older homes.
Higher Energy Bills During Winter
A clogged furnace air filter causes the system to work harder to heat your home. In Minnesota, where heating costs are already high, this can lead to significantly higher utility bills during the winter.
From a home inspection perspective, this is one of the simplest maintenance issues with a big financial impact.
Furnace Overheating and Safety Shutoffs
Many modern furnaces will shut down automatically if airflow is restricted and internal temperatures rise too high.
During a home inspection, this may present as:
- Frequent furnace cycling
- Unexpected shutdowns
- Error codes or service warnings
Repeated overheating can reduce the lifespan of the furnace and result in expensive repairs.
Reduced Indoor Air Quality
Homes often deal with airborne pollutants from traffic, construction, and seasonal allergens. A dirty furnace air filter allows these particles to circulate freely throughout the home.
Home inspectors often hear complaints about:
- Excess dust accumulation
- Allergy or asthma symptoms
- Stale or musty indoor air
Replacing the furnace air filter regularly enhances indoor air quality and occupant comfort.
Added Wear on Furnace Components
When airflow is restricted, the blower motor must work harder. Over time, this added strain can result in:
- Premature blower motor failure
- Increased repair costs
- Noisy furnace operation
During a home inspection, worn furnace parts are often caused by poor filter maintenance.
Increased Risk of Heat Exchanger Damage
One of the most serious concerns a home inspector watches for is excessive heat buildup in the furnace. Poor airflow caused by a dirty furnace air filter can contribute to heat exchanger stress.
A damaged heat exchanger presents a serious safety risk and might necessitate replacing the entire furnace—a costly issue that could be prevented.
How Often Should Furnace Air Filters Be Changed?
Based on typical conditions, most homeowners should replace their furnace air filter:
- Every 1–3 months during the heating season
- More frequently, if you have pets or allergies
- At a minimum, before winter begins
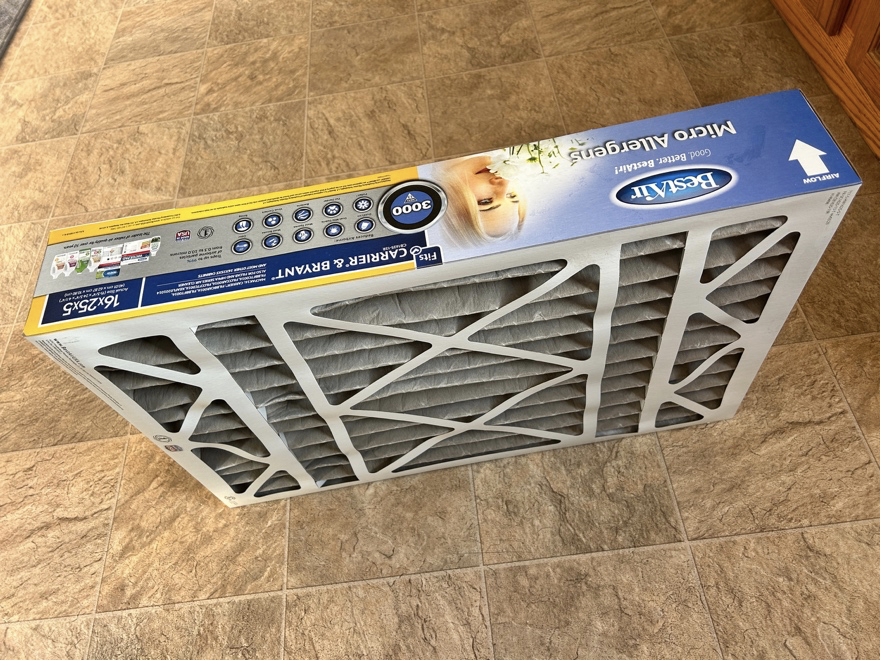
During a professional home inspection, I also suggest verifying the correct filter size and rating for your particular furnace.
Summary:
A dirty furnace air filter is a small issue that can lead to big problems—especially during Burnsville’s cold winters. From a home inspector’s perspective, it’s one of the easiest maintenance tasks homeowners can handle to prevent comfort issues, high energy bills, and unexpected furnace repairs.
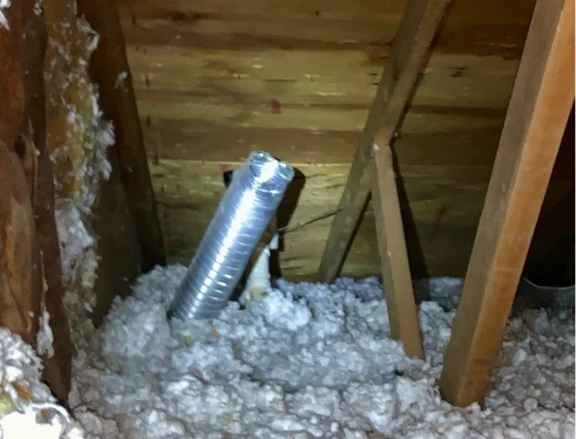
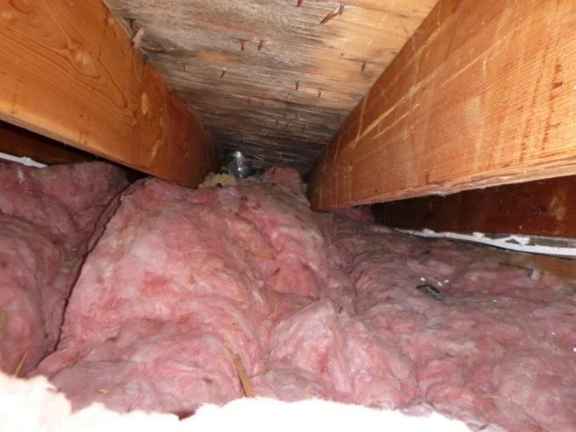
At Sky Blue Inspections, our home inspectors are trained to examine bathroom venting, their function, and identify any defects. Any issues are documented in your home inspection report, with recommendations for repair by a qualified professional. Visit our website to learn more or to schedule your home inspection
Our inspectors proudly serve the South Metro and surrounding areas. To learn more or to schedule your home inspection, contact us today at 651-675-8895 or utilize our online “Schedule Now” feature to set up an appointment.