Why Cold Air Returns Matter in Lakeville MN Homes
A Home Inspector’s Guide to Basement Airflow, Heating, and Cooling
As a Home Inspector in Lakeville MN, I often see homeowners dealing with uncomfortable basements, uneven temperatures, and higher than expected energy bills. One common cause is a missing or poorly designed air return, especially in basement spaces.
Cold air returns play a critical role in how your home’s heating and cooling system operates. When they are missing—something I frequently observe during home inspections in Lakeville —comfort and efficiency suffer.
Let’s take a closer look at why cold air returns are necessary and what homeowners in the Lakeville MN area can do if their basement doesn’t have one.
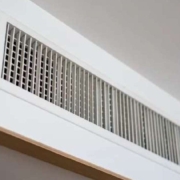
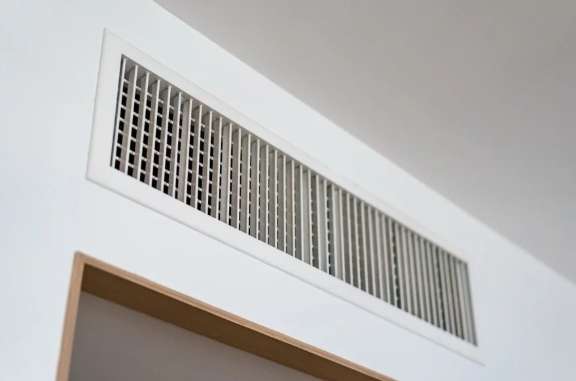
What Is a Cold Air Return?
A cold air return (also called a return air vent) allows air to flow back to the furnace or air handler, where it is reheated or cooled and redistributed throughout the home.
Despite the name, an air return is used year-round:
- During heating season, it pulls cooler indoor air back to the furnace.
- During the cooling season, it draws warmer air back to the air conditioner.
Without proper return airflow, even the best HVAC system cannot perform as designed.
Many homes in Lakeville and the southern Metro have basements that are partially or fully finished. Without a basement air return, air becomes trapped, creating pressure imbalances that affect the entire house.
From a home inspection standpoint, this often results in:
- Cold basements in winter
- Overheated upper floors
- Inconsistent airflow throughout the home
Improved Heating and Cooling Efficiency
Minnesota’s long winters place heavy demands on heating systems. When air can’t easily return to the furnace, your system must work harder to maintain temperature.
Proper air returns help:
- Reduce energy usage
- Improve furnace and AC performance
- Extend HVAC equipment life
- Efficient airflow is a key component of effective heating and cooling in Lakeville MN homes.
Basement Comfort Throughout the Year
Basements without cold air returns commonly feel:
- Drafty and cold in winter
- Stale or humid in summer
A dedicated return allows warm air from upper floors to circulate properly, helping maintain consistent temperatures throughout the home.
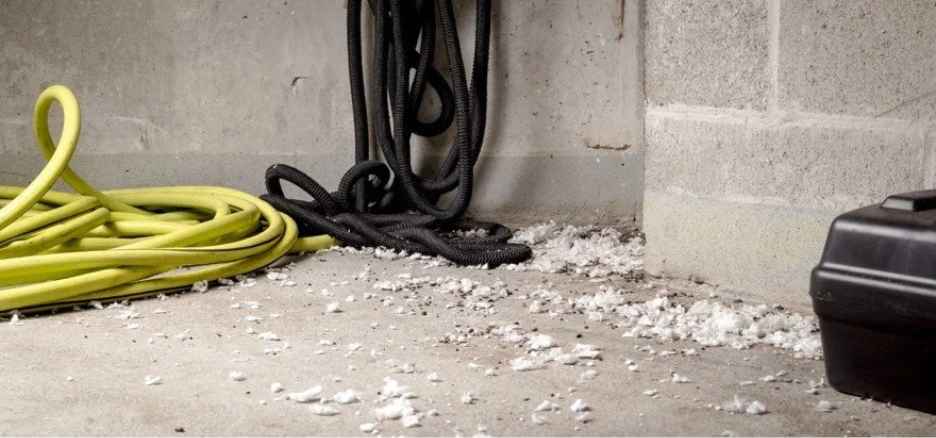
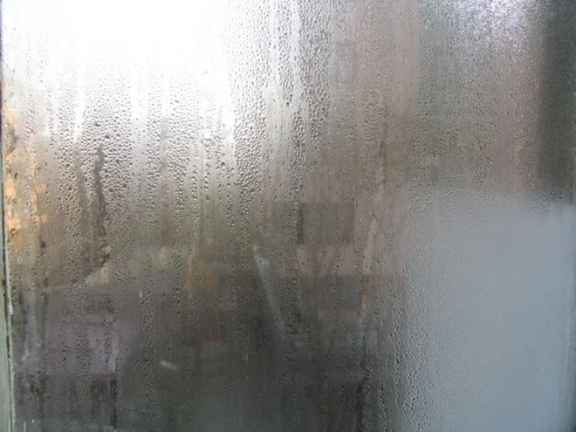
Moisture and Indoor Air Quality Control
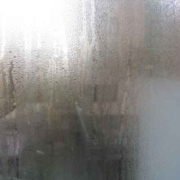
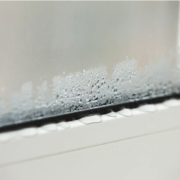
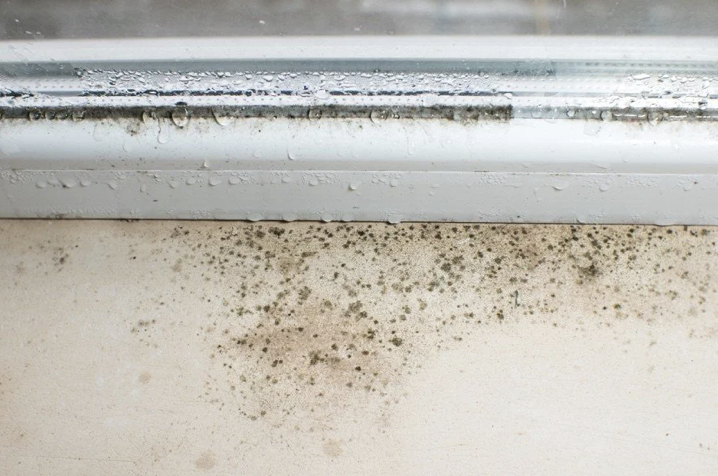
Basements are naturally more prone to moisture, especially in climates like southeastern Minnesota. Without good airflow, humidity can build up, increasing the risk of:
- Musty odors
- Condensation
- Mold growth
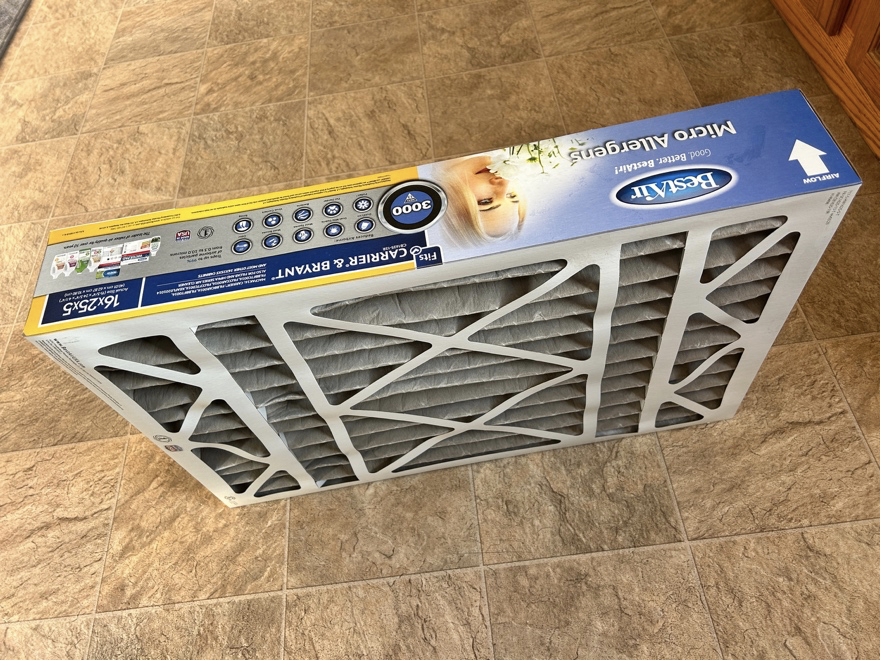
A properly located air return helps move moist air back through the HVAC system, where it can be filtered and dehumidified.
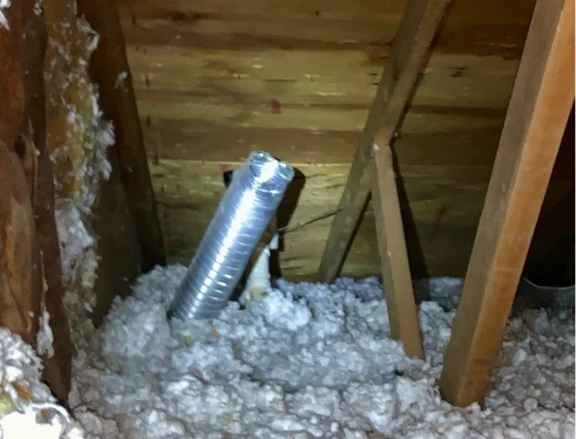
Why Some Basements Lack Cold Air Returns
During home inspections in the Lakeville area, I commonly see missing basement air returns due to:
- Older homes built before modern HVAC standards
- Basement finishing projects completed without duct upgrades
- Cost-cutting during renovations
- The mistaken belief that one central return is sufficient
While this may have been common practice years ago, it often causes comfort and efficiency issues today.
What to Do If Your Basement Does Not Have a Cold Air Return
Install a Dedicated Basement Air Return
The best long-term solution is to add a properly sized cold-air return connected to the main return duct. A licensed HVAC contractor can evaluate your system and ensure it meets current code and performance standards.
Use Transfer Grilles as a Secondary Option
When full duct installation isn’t practical, transfer grilles or jump ducts can help improve airflow between spaces. While not ideal, they are better than having no return at all.
Avoid Closing Supply Vents
Closing basement supply vents is a common mistake. As a Home Inspector, I often see this causing increased system pressure and potential damage to HVAC components.
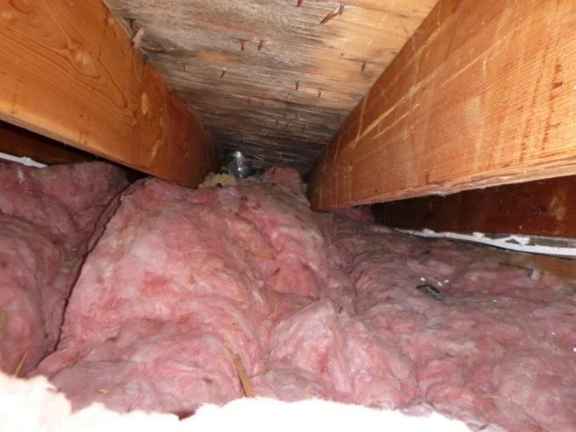
What a Home Inspector Looks For
During a Lakeville MN home inspection, I assess:
- Location and presence of air returns
- Airflow balance between floors
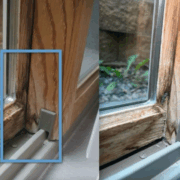
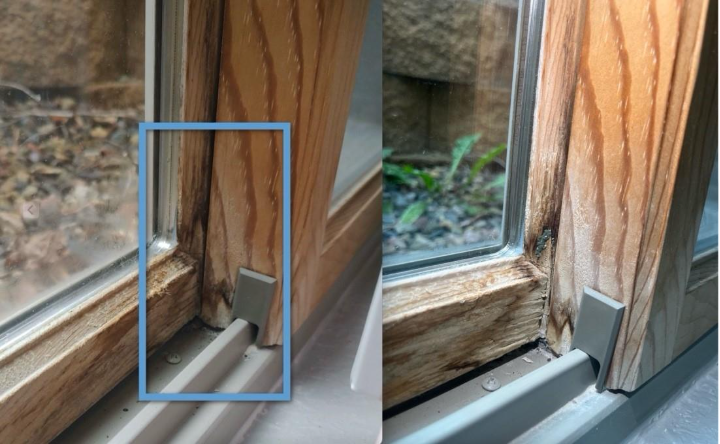
- Signs of moisture or condensation
- Feeling temperature differences throughout the home
A missing basement air return is frequently noted as a performance concern, even if it is not a code violation.
Summary
Cold air returns are crucial—not optional—parts of a healthy HVAC system. If your basement lacks a proper air return, your heating and cooling system cannot function efficiently, especially during Minnesota winters.
Whether you’re finishing a basement, facing comfort issues, or preparing to buy or sell a home in Lakeville, MN, addressing airflow problems can greatly improve comfort, energy efficiency, and long-term home performance.
At Sky Blue Inspections, we are trained to identify these issues during home inspections. Any problems are documented and recommended for resolution by a qualified professional.
Visit our website to learn more or to schedule your home inspection in the Lakeville, Burnsville, and Apple Valley, MN areas. You can contact us today at (651) 675-889, email us, or use our online “Schedule Now” feature to schedule an appointment.